The SGBox Clipboard service will allow the following actions:
- Take screenshots of specific portion of the various SGBox panels
- Import PNG and JPEG images from external sources into the clipboard.
- Add and modify comments for each screenshot
- Save the current clipboard for further use
- Print or Save a Clipboard as a PDF file
1 Clipboard service assumptions
Live clipboards
- Each SGBox user has his own personal clipboard.
- The personal clipboard is shared by all SGBox panels.
- You can edit live clipboards when they are displayed through the “Show Clipboard” button.
Saved clipboards
- Saved clipboards cannot be modified.
- Users can only view and manage their own saved clipboards.
- SGBox administrative users can view and manage notes from all users.
- If users do not delete them, saved clipboards will automatically expire after 15 days.
2 Clipboard & screenshots - How to
2.1 Availability
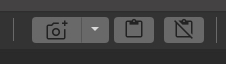
You can access the clipboard service from any page displaying the “Clipboard buttons” section in the header bar.
2.2 Take a screenshot
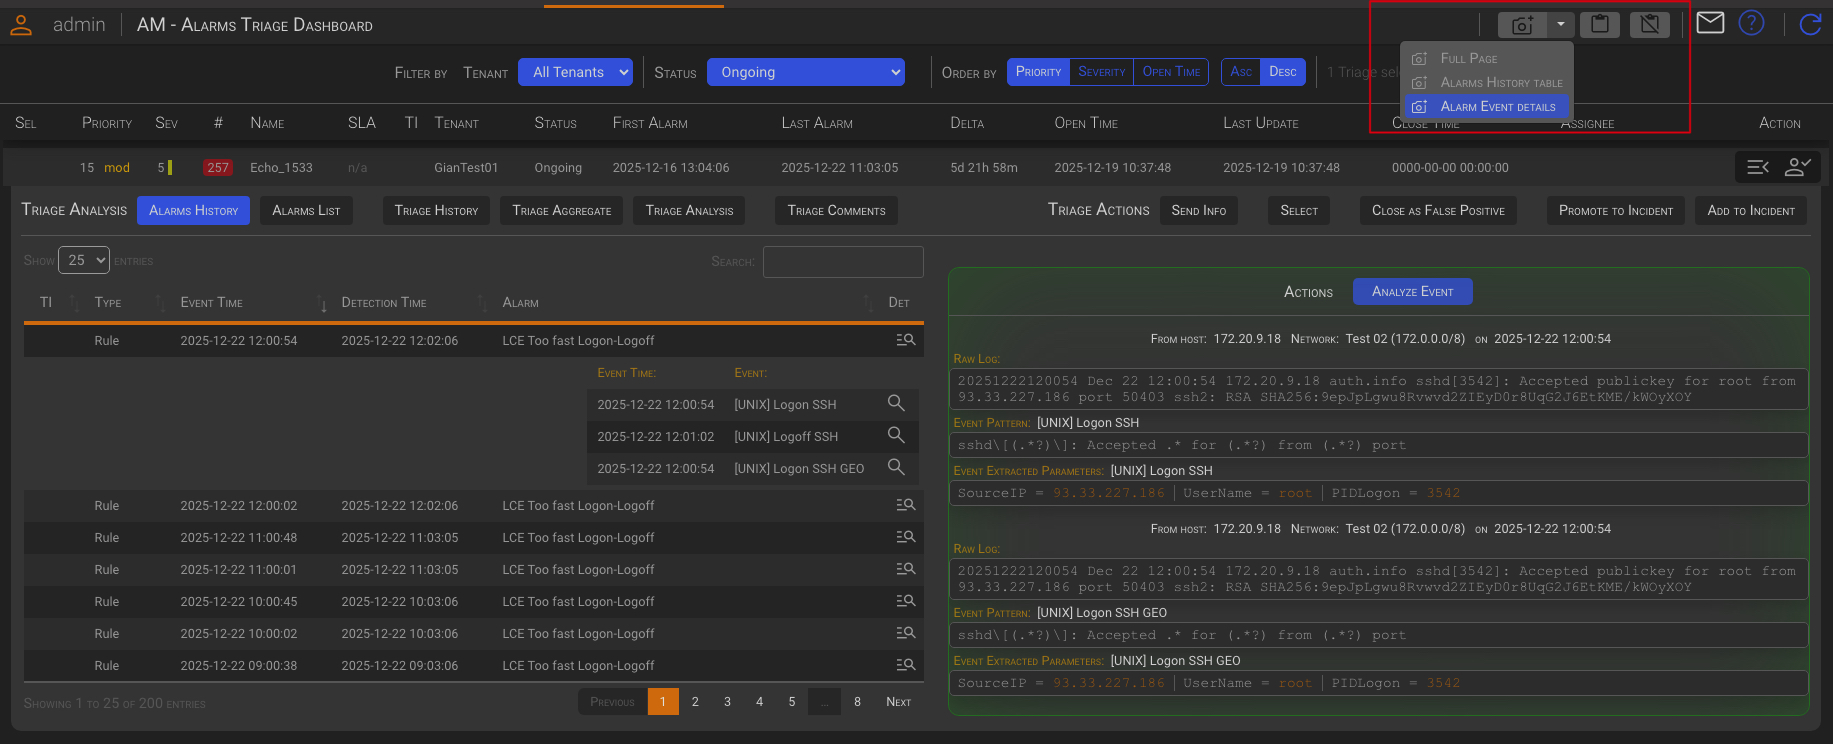
Opening the screenshot drop-down menu will display a list of the page’s screenshotable areas. Hovering over a menu option will highlight the corresponding area. Clicking the option will add the selected area to the clipboard.
2.3 Access the Clipboard (edit mode)
Clicking the Show Clipboard button 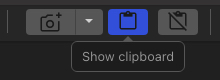 will open a new tab containing the current clipboard.
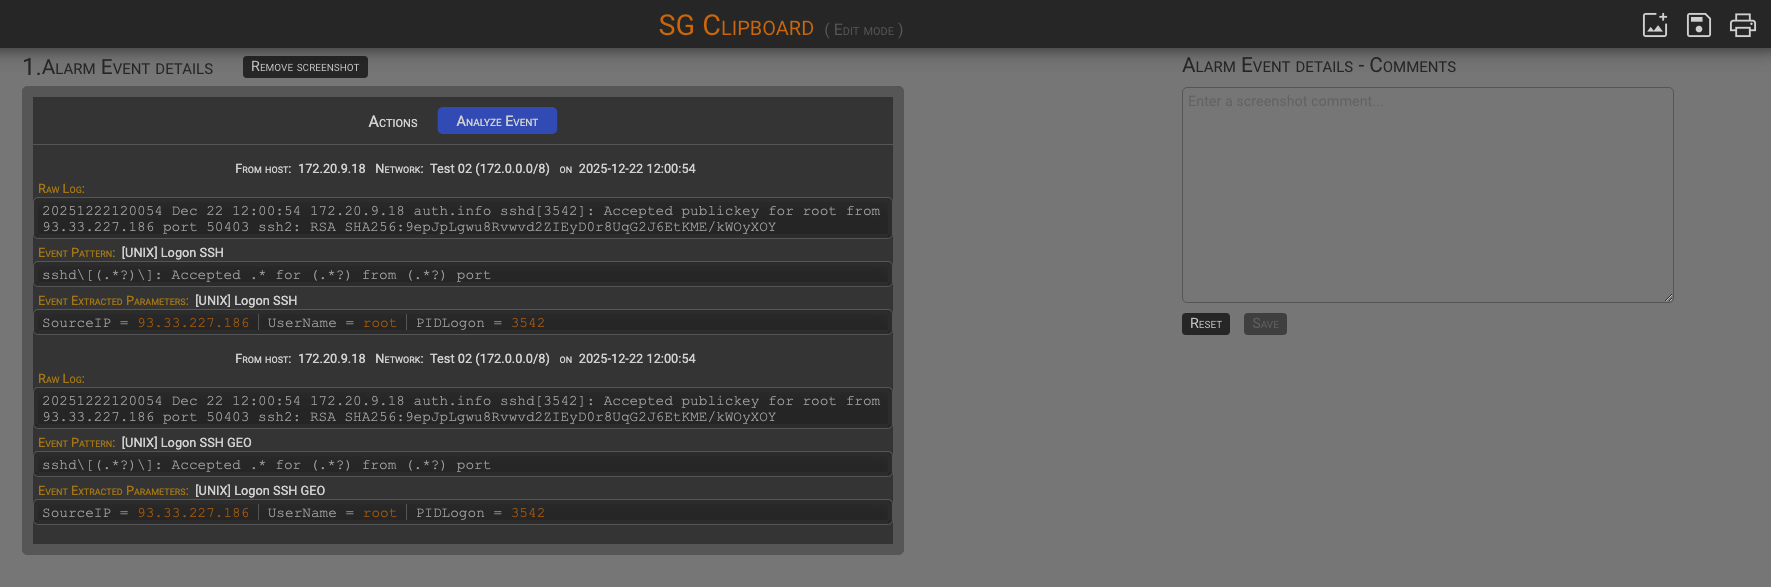
You can add a custom comment to each screenshot by entering text into the corresponding comments box. You can easily modify or remove saved comments or screenshot later.
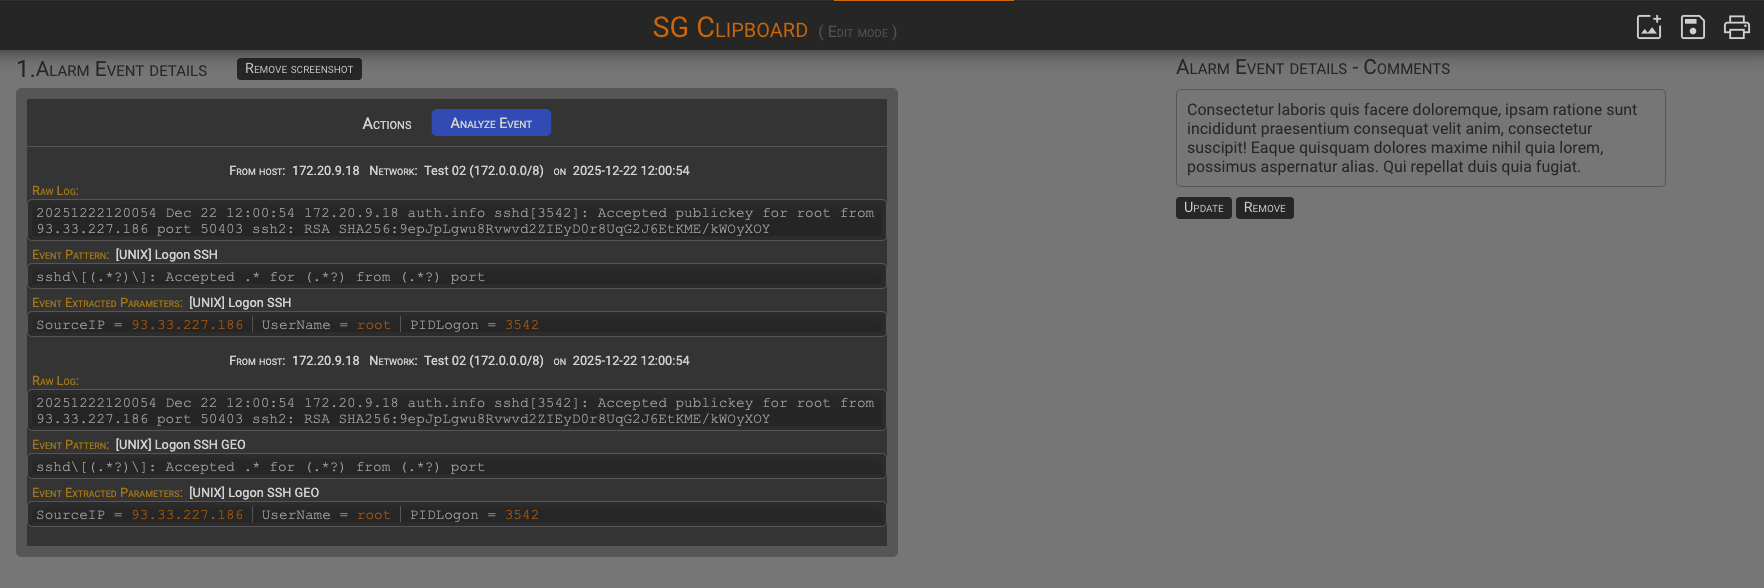
Large images
When an image in the clipboard does not leave enough space for the comment box, the comment box is automatically placed below the image.
From the Clipboard Edit View, you can also perform the following actions:
- Import images
- Save the clipboard
- Print the clipboard
2.3.1 Import images
To add an image to the clipboard, click the Add Image icon in the top right corner of the header bar. Then, choose the image to import, name it, and click the Add button.
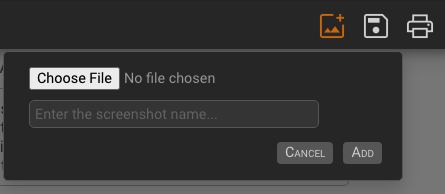
After adding an image, you can also add comments to it, just as you did for the screenshot.
2.3.2 Save the Clipboard
To save the current clipboard click the Save Clipboard icon in the top right corner of the header bar. Then name the clipboard and click the Save button.
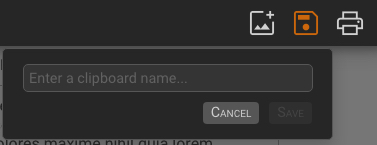
After saving the current clipboard content, you can clear the clipboard to start with an empty one or add new content to create a new version of the same clipboard. The saved clipboard can be managed through the Saved Clipboard Management panel. See the Saved Clipboard Management chapter below.
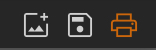
2.3.3 Print the Clipboard
Click the Print Clipboard icon in the top right corner of the header bar to display the print dialog. You can then choose to print or save the clipboard and its content as a PDF file.
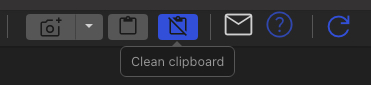
2.4 Clean the Clipboard
Clicking the Clean Clipboard button erase the current clipboard content.
3 Saved Clipboard Management
The Saved Clipboard Management panel can be accessed from the SGBox main menu SCM→Saved Clipboard option.
The panel will display the list of the owned clipboards, or the whole clipboard list if you are an administrator.
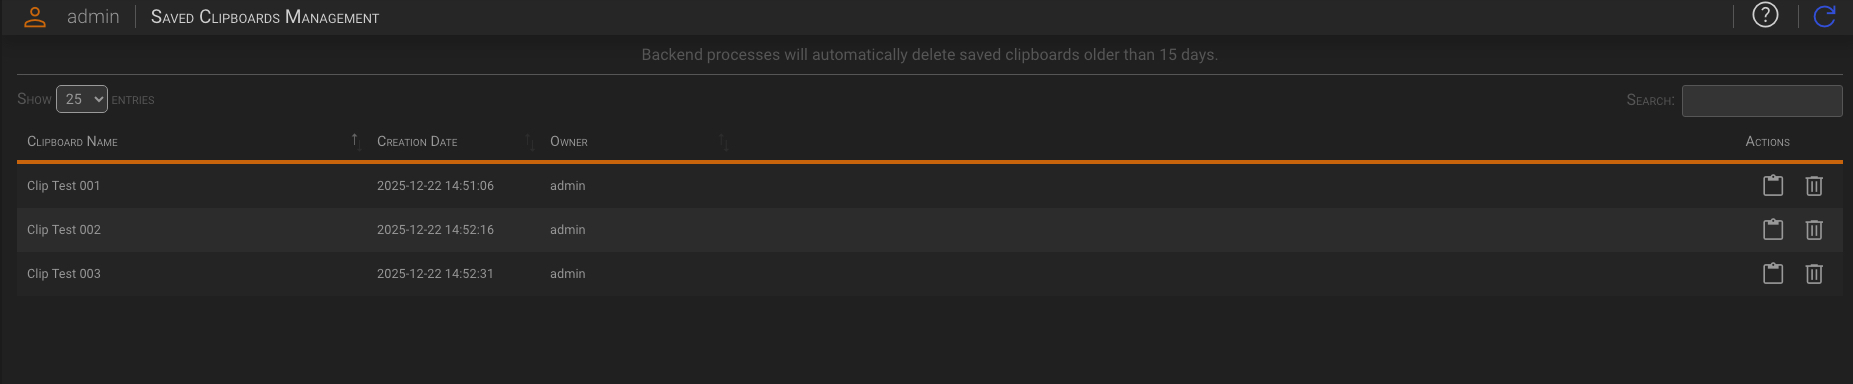
15 days expiration
Don’t forget that the system will automatically clean up any clipboards that are older than 15 days.
3.1 Saved Clipboard Actions
Saved clipboard cannot be modified, they can only be viewed, printed or deleted.
View
To open a saved clipboard, click the ![]() clipboard icon under the Actions column for the clipboard you want to open.
Once the clipboard is displayed, you can print or save it as a PDF file by clicking the
clipboard icon under the Actions column for the clipboard you want to open.
Once the clipboard is displayed, you can print or save it as a PDF file by clicking the ![]() print icon in the top right corner of the header bar.
print icon in the top right corner of the header bar.
Delete
To delete a saved clipboard, click the ![]() delete icon under the Actions column for the clipboard you want to delete, then confirm by clicking the delete button that appears.
delete icon under the Actions column for the clipboard you want to delete, then confirm by clicking the delete button that appears.